
MaxxFan units typically require a 400 mm x 400 mm (approximately 15.75” x 15.75”) cutout. Be sure to double-check the exact measurements in your model’s installation guide before cutting.

How to Install a MaxxFan Ceiling Vent in Your Campervan: A Step-by-Step DIY Guide
Installing a MaxxFan ceiling vent is one of the best upgrades you can make to your campervan. It boosts airflow, keeps your space cool in summer, helps with moisture control in winter, and adds that essential “homey” feeling to your van build. Whether you're mid-conversion or adding ventilation to your finished van, this guide walks you through the entire process — with tips we’ve learned the hard way so you don’t have to.
Step 1: Tools & Materials Checklist
Before you break out the jigsaw, make sure you’ve got everything ready to roll:
- Jigsaw with a metal-cutting blade
- Drill + drill bits
- Masking tape
- Measuring tape
- Pencil or marker
- File or sandpaper
- Caulking gun
- Screwdriver or cordless drill
- Ladder or platform
- Safety gear: goggles, gloves, and ear protection
Materials:
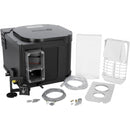
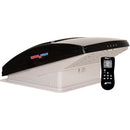
- MaxxFan unit (MaxxFan Deluxe recommended)
- Butyl tape or foam gasket (usually included)
- Sikaflex 221 or Dicor Lap Sealant (for waterproofing)
- Wooden frame (1” battens or similar)
- Screws for the frame (and potentially self-tappers for the roof)

Step 2: Choose the Perfect Spot on the Roof
Take your time with this one. A poorly placed fan can mess up your build — and airflow.
Things to consider:
- Avoid roof ribs or structural reinforcements
- Choose a flat section of the roof
- Ensure the fan won’t interfere with solar panels or roof racks
- Consider where your cooking area or bed is — that’s where airflow matters most

Pro Tip: If you're unsure, tape the fan template to different spots and check the view from inside. It’ll help you visualize how the install fits into your space.
Step 3: Measure & Mark the Cutout
How to do it right:
- Mark the center of your desired location from inside
- Use masking tape to outline the cutout on the roof
- Drill a hole at each corner from the inside to the outside, then connect the dots on the roof using tape or marker
Don’t rush this step — measure twice, cut once.
Step 4: Cut the Roof Opening
Time for the scary part — cutting a hole in your van!
Instructions:
- Drill pilot holes at each corner of the marked square.
- From the roof, insert your jigsaw blade into one of the holes and follow the taped lines.
- Cut slowly and let the blade do the work — don't force it.
Important:
File down or sand the cut edges immediately to remove burrs. Then apply primer or rust protection paint to seal the exposed metal.
Step 5: Build & Mount the Interior Wooden Frame
Your MaxxFan needs a flat, solid surface to clamp to — especially if your roof has curves or ribs.
Here’s how:
- Cut 1” thick wooden battens to match the inside cutout
- Dry-fit them to the interior ceiling
- Use wood glue and screws to secure the frame around the hole
- Ensure it’s flush and square with the opening

This frame will allow the fan’s interior bezel to mount securely and prevent sagging over time.
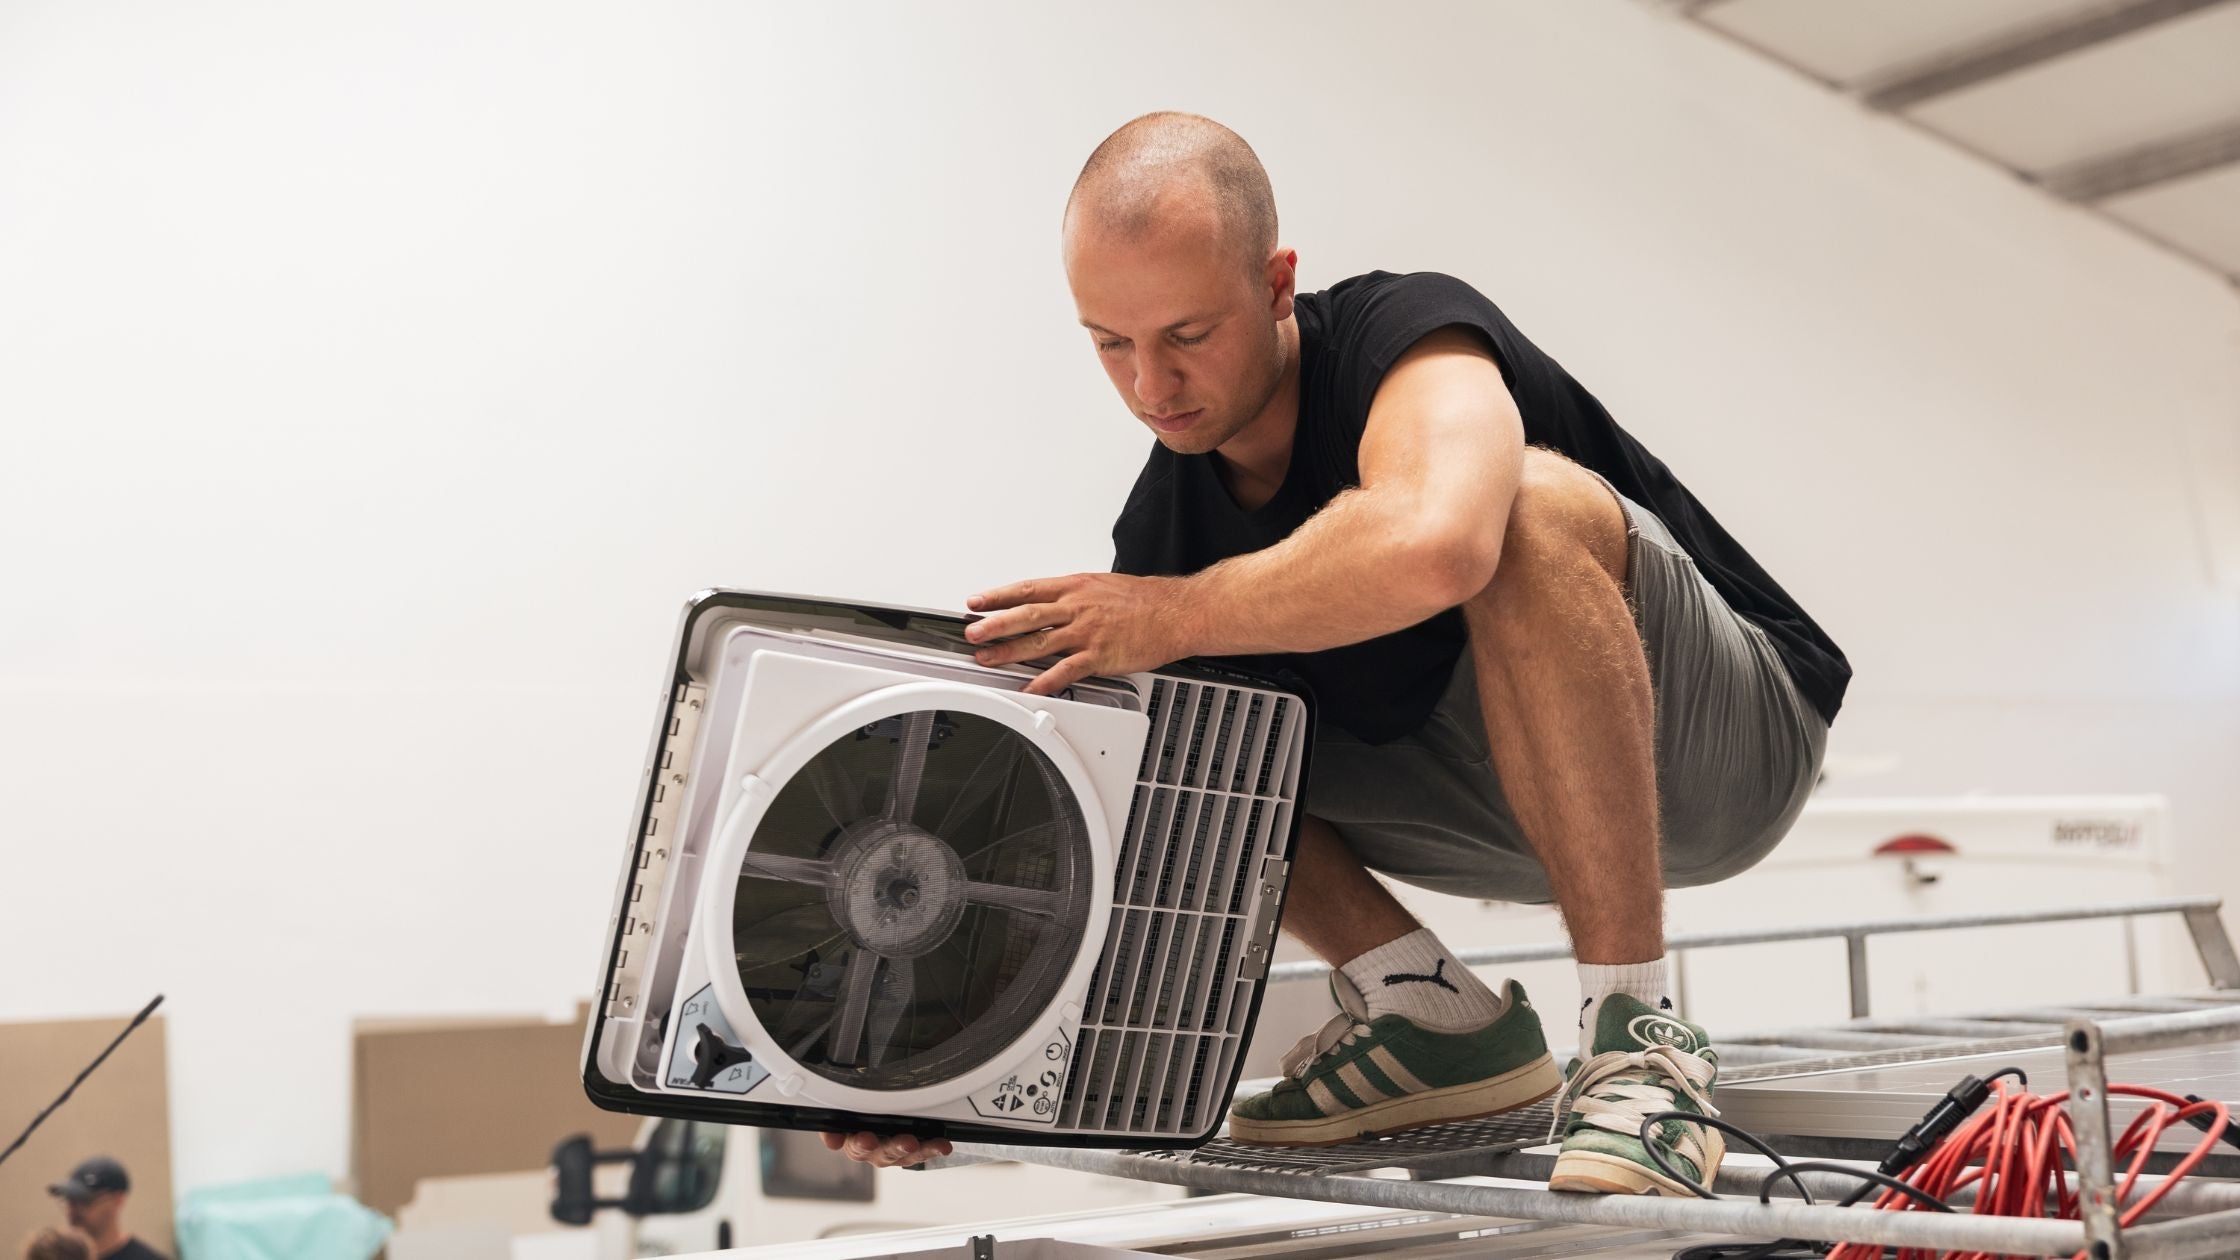
Step 6: Dry Fit the MaxxFan
Place the MaxxFan into the hole to check the fit. Make sure:
- The fan sits flush with the roof
- The screw holes align with the wood frame
- The inner bezel fits nicely inside the van

If anything seems off, now’s the time to sand, shim, or tweak before sealing it in for good.
Step 7: Apply Sealant & Butyl Tape
Seal = no leaks. So don’t skimp here.
- Run a thick bead of butyl tape or use the included foam gasket on the bottom of the MaxxFan flange (the part that touches the roof).
- Apply a bead of Sikaflex 221 or Dicor Lap Sealant around the edge of the opening and over the flange.
- Lower the MaxxFan into place and press down firmly to spread the sealant.
Step 8: Secure the Fan to the Roof
Use the included screws to bolt the fan down through the flange and into your wooden interior frame. Tighten them evenly — don’t overtighten or you could warp the plastic or strip your frame.
After the fan is mounted:
- Apply another bead of sealant around the outside of the fan for extra waterproofing
- Cover all screw heads with sealant
Step 9: Connect the Wiring (12V)
The MaxxFan runs on 12V power, so connect it to your campervan’s electrical system via a fused power supply.
Wiring Tips:
- Red = positive
- Black = negative
- Use crimp connectors, heat shrink, or WAGO terminals
- Test the connection before finalizing the bezel installation
If you're not confident with electrical work, consult a pro — better safe than sorry.
Step 10: Install the Interior Bezel
Once the fan is wired and the outer unit is secured, snap in or screw the interior bezel to cover the wooden frame and complete the look.
Most MaxxFan models have telescoping bezels to accommodate different ceiling depths. Cut it to size if needed.
Step 11: Test the MaxxFan
You’re almost there!
- Turn the fan on and cycle through all speeds
- Open and close the vent cover
- Test intake and exhaust functions
- Check for any unusual noises or vibrations
Everything working smoothly? Time to celebrate.
Step 12: Clean Up & Final Touches
- Wipe off excess sealant
- Touch up any scratched paint
- Make sure the bezel sits flush
- Store your fan remote in a secure spot (don’t lose it!)

Why Install a MaxxFan in Your Camper?
The MaxxFan Deluxe is a vanlifer’s dream. Here’s why:
- Quiet operation, even on high
- Reversible airflow: pulls air in or out
- Rain hood means you can keep it running in all weather
- Built-in thermostat keeps your van cool automatically
- Works great with solar setups and off-grid builds
Need a Place to Install Your MaxxFan?
Not everyone has space or tools at home to cut a roof. That’s why VanCowork offers DIY workshop rental — a fully equipped space where you can work safely, ask questions, and even get hands-on help from our crew if needed.
Check our workshop availability here
Book a van or install session

Final Thoughts
Installing a MaxxFan might seem intimidating, but with the right prep (and this guide), it's totally doable. It’s one of the most rewarding camper upgrades — making your van more livable, more comfortable, and more functional no matter where the road takes you.
Have questions or want to rent a van that already has a MaxxFan installed? We’ve got you covered.
Happy building,
– The VanCowork Team
Want more DIY guides like this? Let me know and I’ll write up one for solar panels, water systems, or bed platforms too!